Wednesday, January 26, 2022

How To Sew Mitered Corner Hem - Tutorial

Mitered corners are when two edges meet at a 45 degree, creating a 90 degree corner. There are a few ways to sew a mitered corner hem and I've tried the simplest most 'shortcut' way which basically is estimate, fold and sew along as you see. Risky and not very neat. 

I've searched for the proper and professional way on youtube and all of them involved drawing a lot of lines, and ironing. I am not a fan of drawing a lot of lines, also ironing if it's not necessary. 

So I came up with my own modified version. And because drawing lots of lines is a hassle to me, I used my good ol' distance/width judgement with consistency. If you prefer drawing lines to be more confident, feel free and go ahead.


Prepare your fabric, tweezer to turn the corner inside out efficiently, fabric pen and ruler.

Start a first fold on one side. 

Then fold the next side.

Hold the folded sides down and pinch the corner.

Fingers still on the fabric, slide it to the table edge, in half.

From the edge of the table, bring the two sides together, still pinching the same spot.
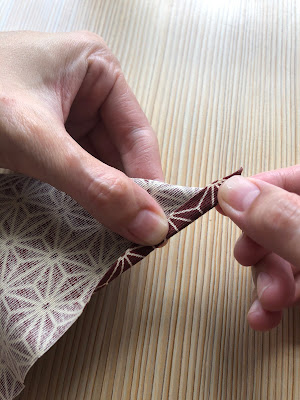
Put the folded corner down on the table, place a ruler in a way where it's 90 degree from the folded side, and draw a line which is the yellow dashed line on the picture.

Sew along the line.

Do all 4 corners.


Cut off most of the corner, a distance from the sewn line.

Also, snip off the sharp stray corners on each sides.

Now when you open up the corner, and flatten the inner part, it looks like this.

Then turn the corner inside out

Almost there.

To finish up, do the second fold or fold over to make the complete hem starting at one one side first. Start sewing the hem.

Press on the next hem side when you reach the end of the previous hem, at the corner. Continue sewing the new side.

The underside of the mitered corner hem looks like this.


All corners done!

Neat and nice!

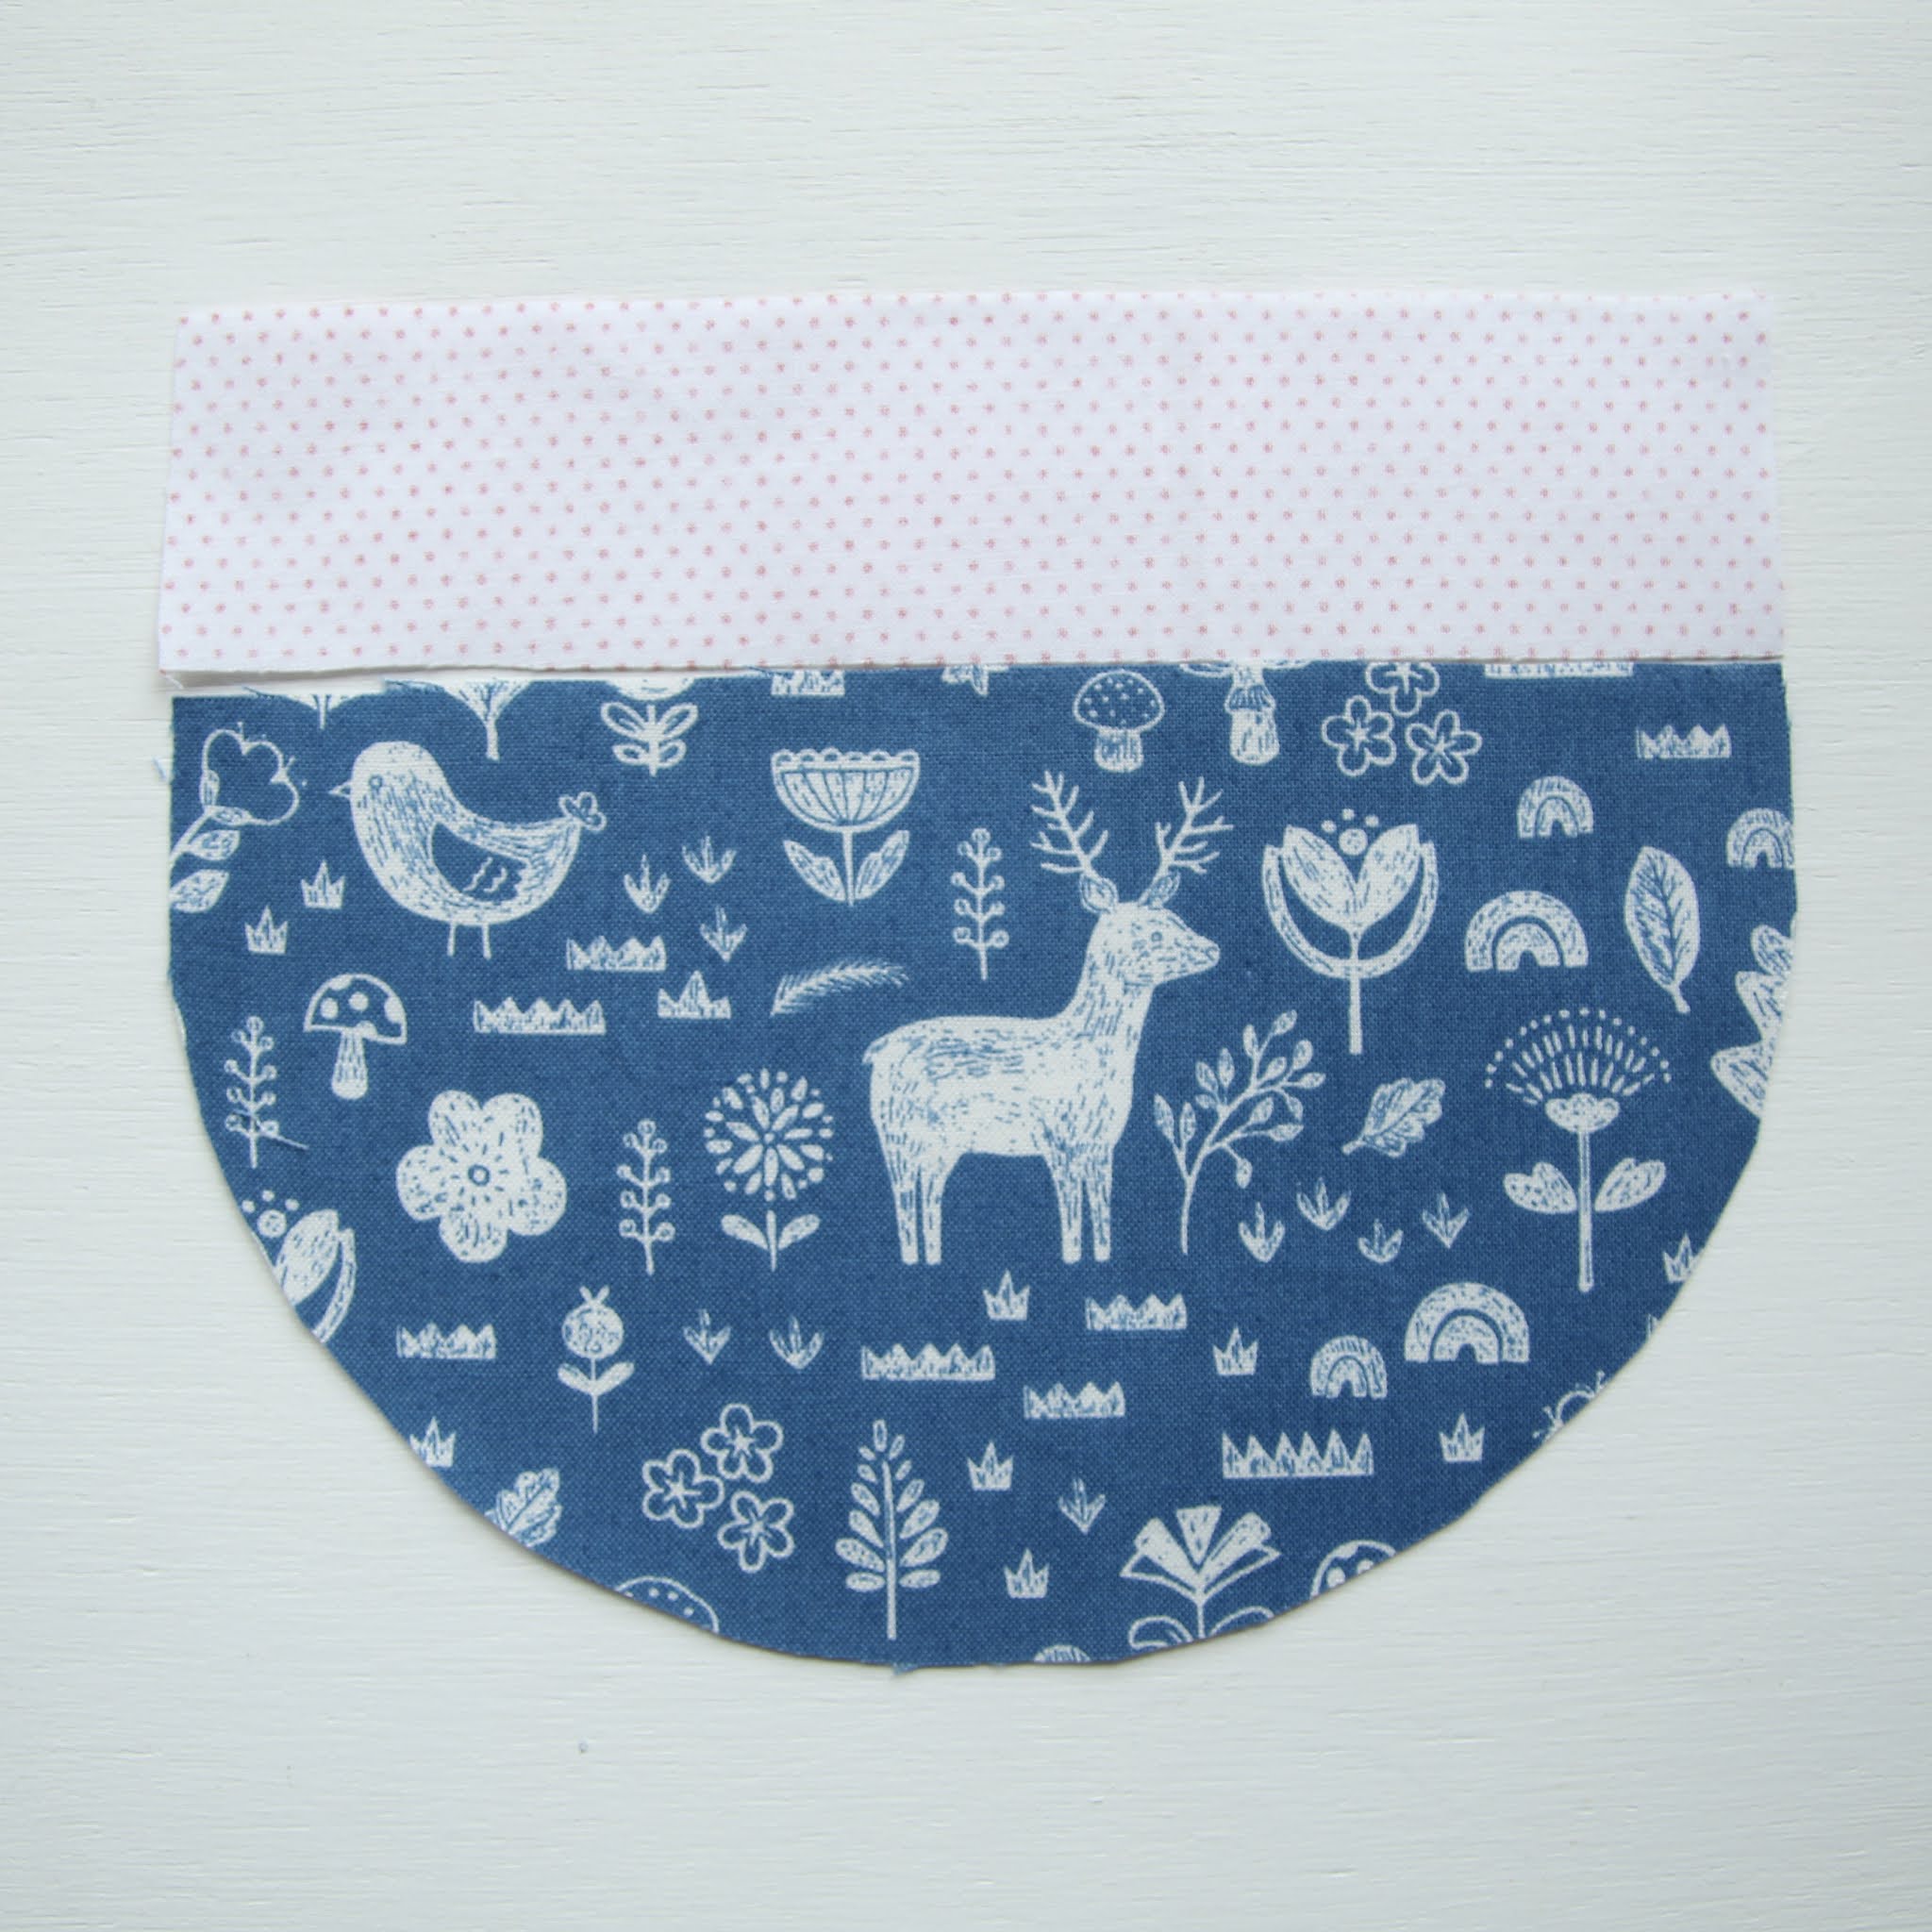
If you're wondering why I made this small piece, it's an inner pocket for a tote bag.

More bags coming!


Thursday, January 13, 2022

Starting a new life

While many working folks cleared their leaves at the end of 2021 and have begun their Monday Blues at the start of 2022, I have started my indefinite leave days. Gosh it feels so carefree.

I'm into my second week of 'leave' and there is no "Ohh, time flies, my leave will end soon and I will be back to the daily grind for the rest of the year again". I have never felt this pure joy. The days belong to me now. How liberating is that!

Though I manage to steal shake-leg moments in between house chores, I'm starting to appreciate and enjoy the peaceful moments at home, and not working-from-home. I usually leave the TV on, Channel News Asia on default, but recently, I'd leave it off and just lounge on the couch, looking out the house. I was totally immersed in the sight and sounds of my home ie. the huge mango tree rustling in the cool breeze and the moving shadows on my garden. I could just sit there and be in the moment. Now I know what is luxury.

I am also enjoying my clean space! Ahh, all the spring cleaning hardwork paid off. It's great way to start my creative projects. And this space will be in a mess again, heh.


Prayers do get answered...


Thursday, January 06, 2022

First week of freedom

 And here I am, at my first week of freedom. I'm no longer bound to a corporation, a company, a team or a boss. No more work emails, weekly meetings, night meetings and performance reviews. It's a strange, surreal and thrilling transition. 

People normally resign to join another company to gain more, to develop their career further and reuse their skills and experience. 

I resigned, period. I'm not going anywhere, period. I have no plans, period. I pulled the handbrakes and switched off the engine. To some, this is unthinkable, but to me, at this moment, is the sweetest taste of midlife second chance.

Am I about to mess up my life? Hell yeah, and it's going to be a BEAUTIFUL mess. Heh.

So what happened this week? Monday 3 Jan 2022 was my last day as a 'Scientist'. Since I was not on site, a courier arrangement was made to return my company laptop and other assets while they clear and pack my personal items at the Singapore lab office to ship to me. During my last video call with my boss, bless him, he showed me my personal items that was at my workstation, one by one to ask if I would want them back. One by one. Umbrella la, bags la, face cream la, food container la, even 15 cents coins. Quite an unforgettable clearance meeting, hahah. While still bound to my laptop for farewell emails and replies, and any last minute clearance procedure, I waited with bated breath till end of the day. And then I shut it down, unplugged everything and packed it up. This is it!

Did I lie down and shake legs after that? NO! I was on the move NON-STOP. Cook, wash, clean, throw stuff, declutter, reorganise. On. Repeat. I spring cleaned a lot, and it felt SOOOO good. But I'm SOOO tired. Gosh, I feel like I'm on a rainbow now.

My prayers were heard...


Sunday, December 05, 2021

New chapter

I made a decision, so major that I didn't know how to start this post. 

I have resigned! I have resigned from my job in Singapore. I have finally taken the big big leap.
That leap I was contemplating for the longest time.

It's funny how the heart really knows what you want. I remember an immense feeling of peace came over me when the decision was made. I believe it was also the peace God gave me after answering my constant prayers.

My roller coaster ride began in September. In fact, I think it already began when Malaysia imposed the lockdown in March 2020. The day before it, I said goodbye to my boss and colleagues, the temporary kind, thinking it was going to be just a week or two maybe. From then, I was working remotely in JB, doing whatever I can online. But deep down, I was feeling bad. My primary role required me to be IN the lab, preparing samples, supporting all the experiments of my colleagues projects, learning new lab skills etc. So I geared myself towards learning new softwares, proposing targets for the first time, keeping up with presentations and willingly taking on any administrative processes that my team needs. 

Along the year of 2020 and beginning of 2021, I had actually asked my boss if I should leave as the border was closed for too long and the uncertainties were increasing, but he kept saying it was fine and not to worry about it. But my stress and guilt were growing and eating me. I wasn't at peace.

Then one day, my boss told me that his boss, and his boss's boss have 'raised a concern' on the team's bandwidth. They needed more hands. With that and the border uncertainties, I was given an option to enter and stay in Singapore, or....

I already knew my decision. And for the first time in a long time, I felt something heavy was lifted off my heart. But of course, there was still some room for second thoughts. Are you sure you want to leave a good company?Are you sure you can give up the SGD?

A lot of are you sure questions that week.

I work in Singapore for my family, and I gave up my job in Singapore also for my family.

For whatever reason, I believe God will lead the way for me and open many more doors for me here in JB where I can finally feel like I really belong to. I'm scared but excited. But more excited!

Looking forward to blog more consistently xoxo (aiyaiyai Ally you gonna jinx this up?) 


Sunday, August 01, 2021

Cute mini ball drawstring pouch DIY Tutorial

Frankly, I don't know what these little round pouches are for, but they're cute and it makes me happy making them. I could decide that they are for keeping your favourite golf ball, how random is that, heheh.


If you would like to make one (to keep your favourite golf ball), here we go!

First, cut these out. I used a takeaway container lid, quite a big one by standard to make the half circles. Choose whichever width you like, mine is about 17cm wide here.

Align one 'tab' fabric with a half circle fabric. 

Fold in both sides of the 'tab' fabric to sew the hem, while leaving enough space for the hem of the pouch as indicated by the arrows here.

Repeat the hemming for the other 'tab' fabric.

Now, fold the hemmed 'tab' fabric and place it between the outer and lining half circle fabric pieces, right side facing each other.

Proper alignment is the key here.

Sew along the top.

Looks like this when opening them up flat.

Now, place the right sides facing each other.

Again, proper alignment is the key here. Align one side to start sewing the pouch.

Remember to align the other side as you sew as well. Leave a 5-6cm gap at the middle of the lining

Turn inside out through that gap opening.


Check the sides to see if they're aligned.

Blind stitch the opening.

Thread in the cord strings at both sides.

Ta-da!

Not kidding when I said it's for keeping your favourite golf ball..teehee.

It could also keep your earphones, cables or other tiny knick knacks that always get lost in your tote.

And how could I not make more! The amount of fabric to make these are small which was great for me as I had a lot of fat quarters in my fabric stash.


Such a joy to make these little cuties!


Zakka pouch


I had quite an intense and busy few weeks with work. It seriouslytook over my entire being that all I thought about the moment before I sleep and the moment I wake up, is work. It was both exhilarating and stressful. After it was over, i just had to make something like these.

Something zakka, something zen.


I can finally take a breather... until the next work wave!

House number DIY

Make your own house number, no nails, no drilling, you just need a laser printer and decoupage glue coat Mod Podge.

First, create your number in your desired font and size on Word document and print it out using a laser printer. If you're using inkjet, you will need to have it photocopied. The rule of thumb is, the print must be carbon-based. 

Then, tape over the numbers with regular cellophane tape.
 
Cut out the number close to the edges and soak in water for 10 minutes.

Rub the paper off the cellophane tape, it comes off quite easily.

Coat a layer of Mod Podge on the wall surface where your numbers will be. Then place the numbers on the coated surface and paint another coat on top of the numbers and around it.


This is actually my second time doing this because we had our exterior walls repainted with a fresh coat of white. The first one lasted very long, in the all kinds of weather, surprisingly.

Simple and unique!