Frankly, I don't know what these little round pouches are for, but they're cute and it makes me happy making them. I could decide that they are for keeping your favourite golf ball, how random is that, heheh.

If you would like to make one (to keep your favourite golf ball), here we go!
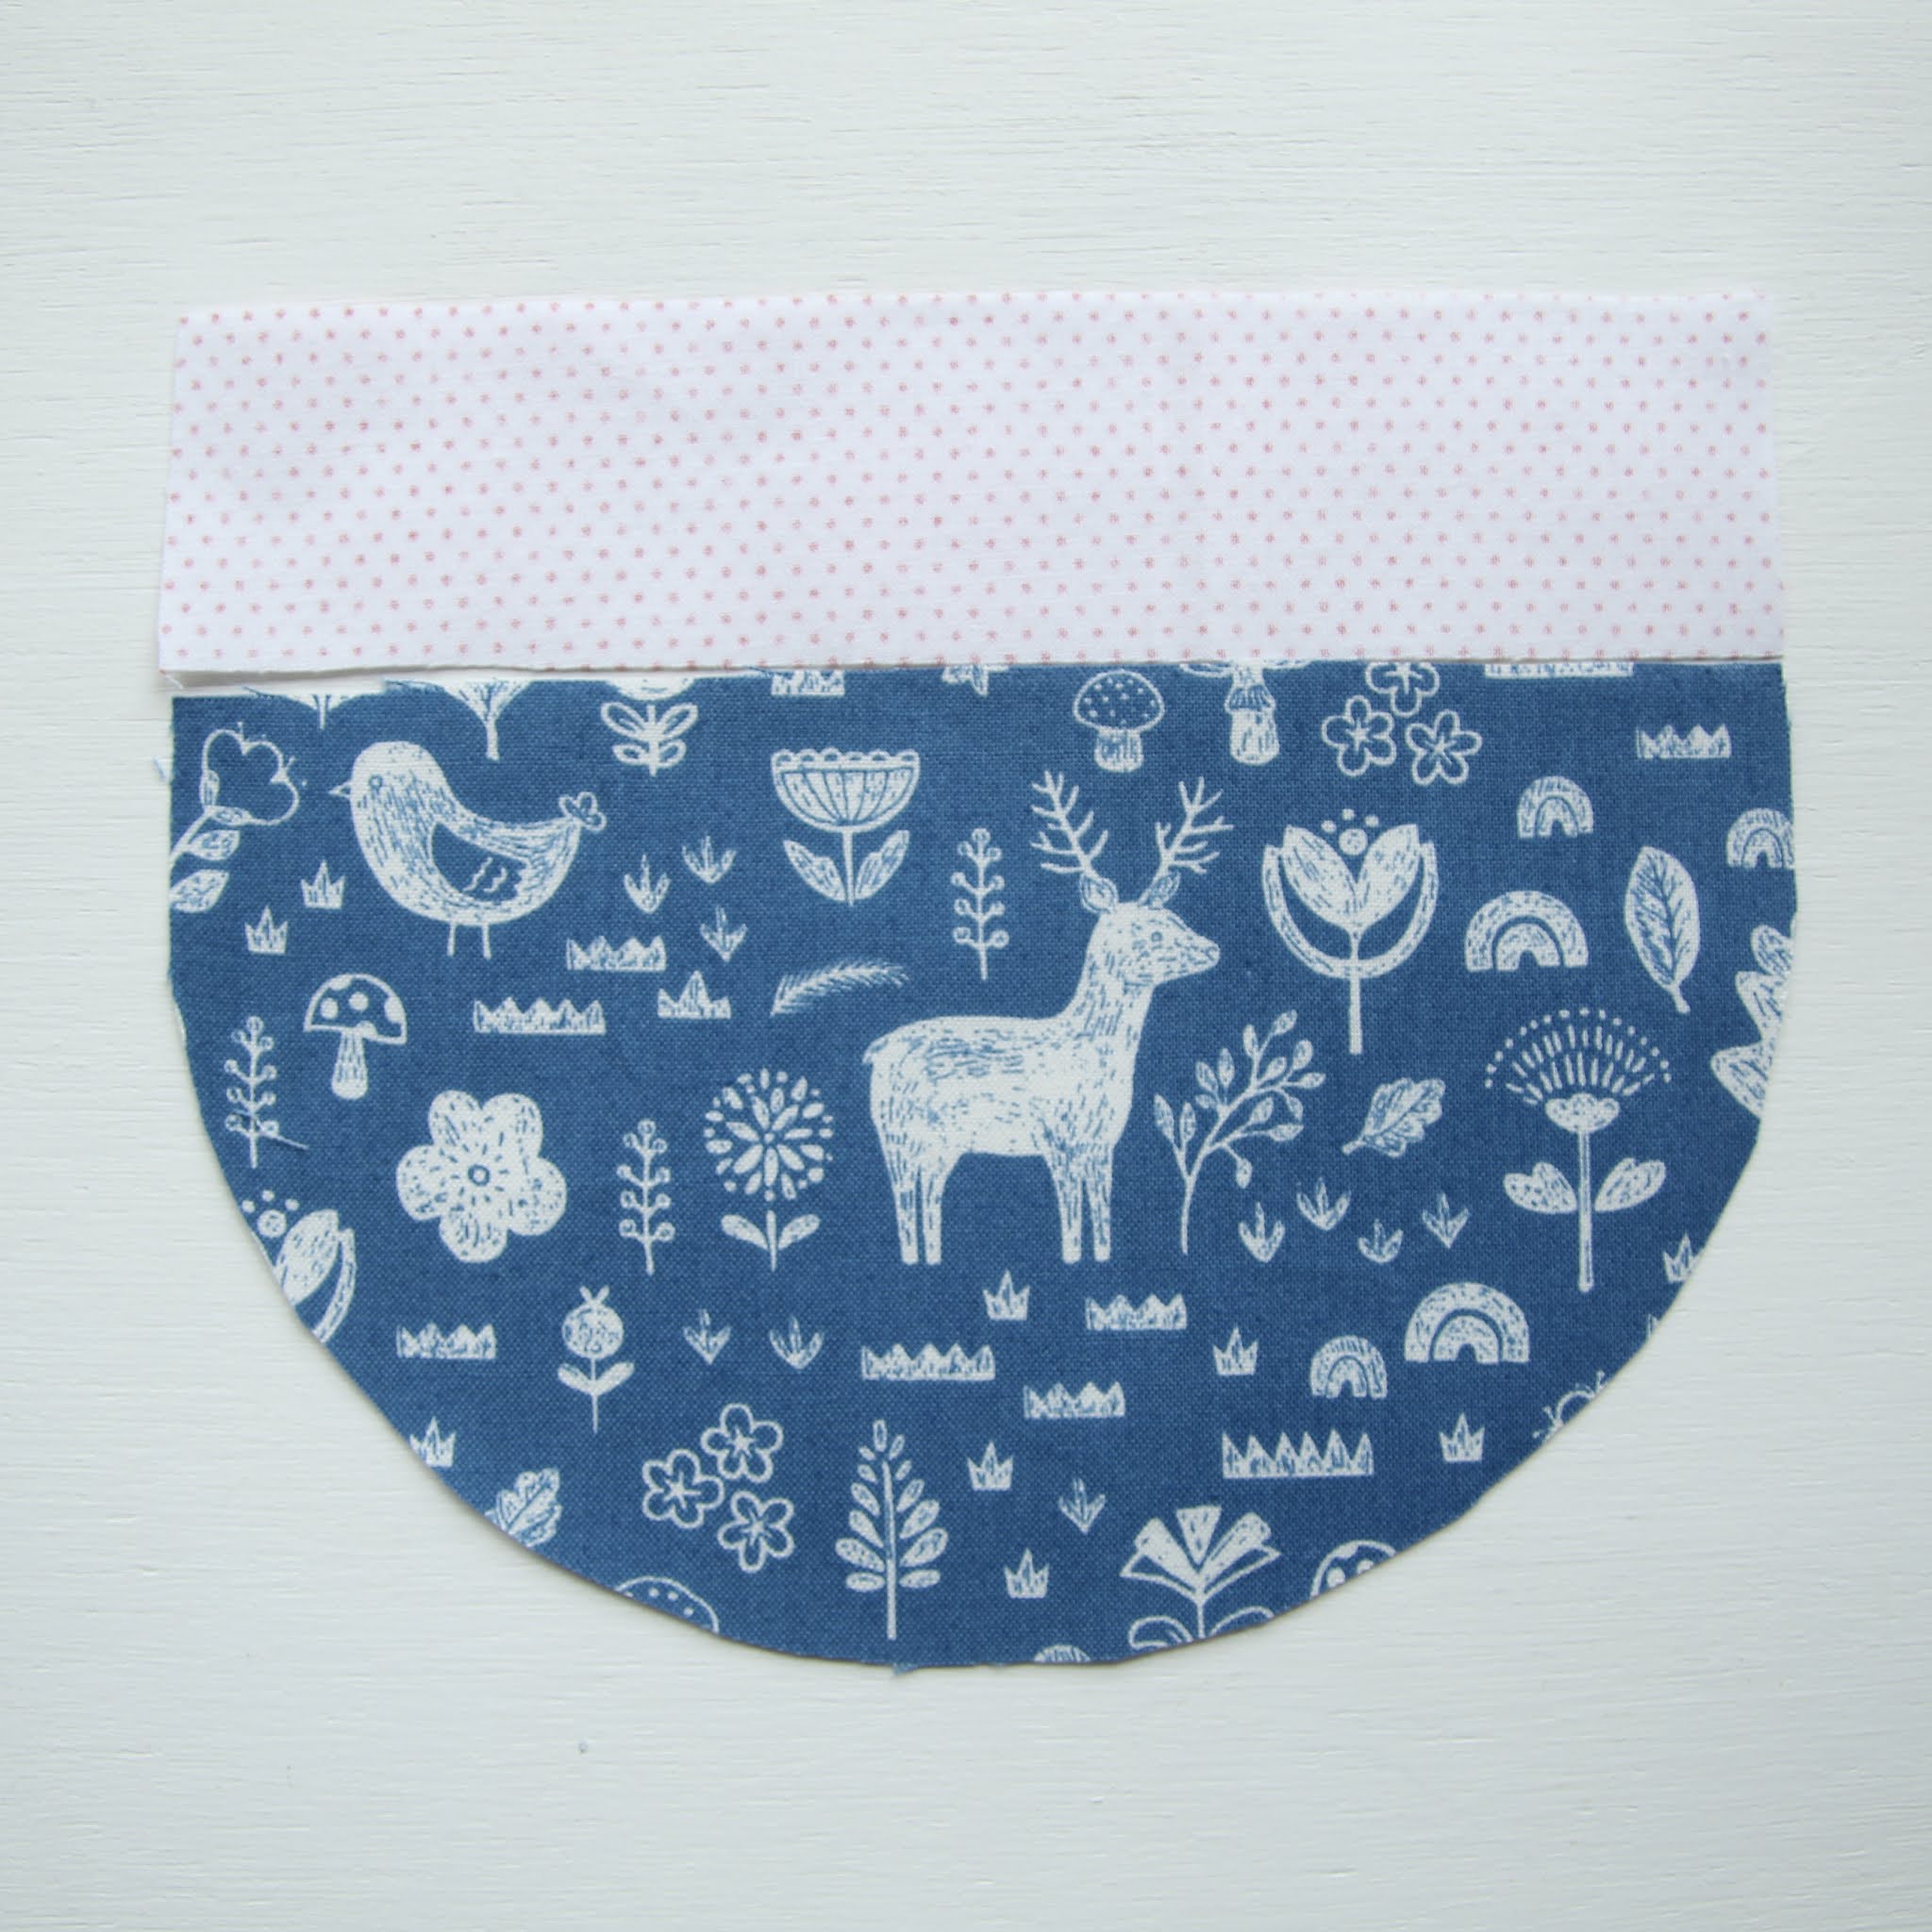
First, cut these out. I used a takeaway container lid, quite a big one by standard to make the half circles. Choose whichever width you like, mine is about 17cm wide here.

Align one 'tab' fabric with a half circle fabric.
Fold in both sides of the 'tab' fabric to sew the hem, while leaving enough space for the hem of the pouch as indicated by the arrows here.

Repeat the hemming for the other 'tab' fabric.

Now, fold the hemmed 'tab' fabric and place it between the outer and lining half circle fabric pieces, right side facing each other.

Proper alignment is the key here.

Sew along the top.

Looks like this when opening them up flat.

Now, place the right sides facing each other.

Again, proper alignment is the key here. Align one side to start sewing the pouch.


Turn inside out through that gap opening.

Check the sides to see if they're aligned.

Blind stitch the opening.

Thread in the cord strings at both sides.

Ta-da!

Not kidding when I said it's for keeping your favourite golf ball..teehee.

It could also keep your earphones, cables or other tiny knick knacks that always get lost in your tote.

And how could I not make more! The amount of fabric to make these are small which was great for me as I had a lot of fat quarters in my fabric stash.


Such a joy to make these little cuties!
No comments:
Post a Comment