Sunday, August 01, 2021

Cute mini ball drawstring pouch DIY Tutorial

Frankly, I don't know what these little round pouches are for, but they're cute and it makes me happy making them. I could decide that they are for keeping your favourite golf ball, how random is that, heheh.


If you would like to make one (to keep your favourite golf ball), here we go!

First, cut these out. I used a takeaway container lid, quite a big one by standard to make the half circles. Choose whichever width you like, mine is about 17cm wide here.

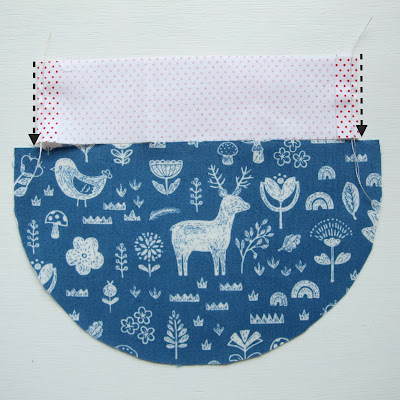
Align one 'tab' fabric with a half circle fabric. 

Fold in both sides of the 'tab' fabric to sew the hem, while leaving enough space for the hem of the pouch as indicated by the arrows here.

Repeat the hemming for the other 'tab' fabric.

Now, fold the hemmed 'tab' fabric and place it between the outer and lining half circle fabric pieces, right side facing each other.

Proper alignment is the key here.

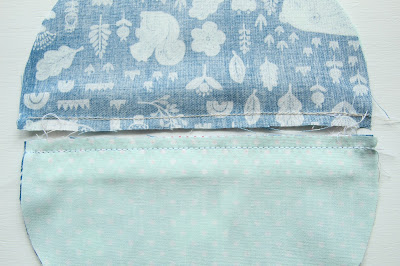
Sew along the top.

Looks like this when opening them up flat.

Now, place the right sides facing each other.

Again, proper alignment is the key here. Align one side to start sewing the pouch.

Remember to align the other side as you sew as well. Leave a 5-6cm gap at the middle of the lining

Turn inside out through that gap opening.


Check the sides to see if they're aligned.

Blind stitch the opening.

Thread in the cord strings at both sides.

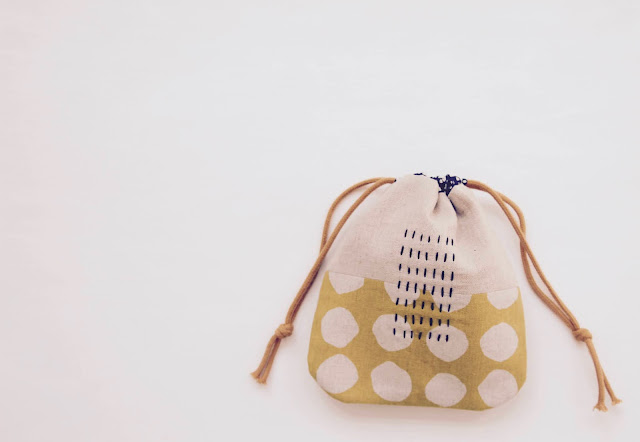
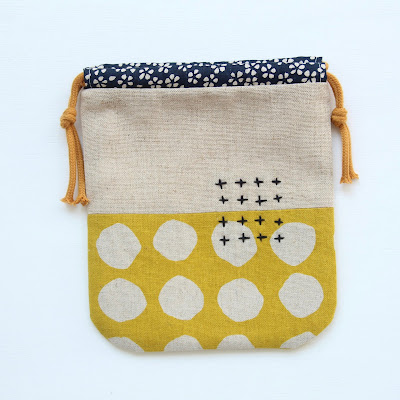
Ta-da!

Not kidding when I said it's for keeping your favourite golf ball..teehee.

It could also keep your earphones, cables or other tiny knick knacks that always get lost in your tote.

And how could I not make more! The amount of fabric to make these are small which was great for me as I had a lot of fat quarters in my fabric stash.


Such a joy to make these little cuties!


Zakka pouch


I had quite an intense and busy few weeks with work. It seriouslytook over my entire being that all I thought about the moment before I sleep and the moment I wake up, is work. It was both exhilarating and stressful. After it was over, i just had to make something like these.

Something zakka, something zen.


I can finally take a breather... until the next work wave!

House number DIY

Make your own house number, no nails, no drilling, you just need a laser printer and decoupage glue coat Mod Podge.

First, create your number in your desired font and size on Word document and print it out using a laser printer. If you're using inkjet, you will need to have it photocopied. The rule of thumb is, the print must be carbon-based. 

Then, tape over the numbers with regular cellophane tape.
 
Cut out the number close to the edges and soak in water for 10 minutes.

Rub the paper off the cellophane tape, it comes off quite easily.

Coat a layer of Mod Podge on the wall surface where your numbers will be. Then place the numbers on the coated surface and paint another coat on top of the numbers and around it.


This is actually my second time doing this because we had our exterior walls repainted with a fresh coat of white. The first one lasted very long, in the all kinds of weather, surprisingly.

Simple and unique!


Fun with concrete and cement dye

 More fun and experimentation with cement, this time with new moulds, yay! But first, I must give credit to the hubz who made me an adjustable platform for my concrete project.


The adjustable legs are very useful to ensure an even surface for the cement to dry.


New silicone moulds I bought from Lazada and Shopee

I had this Rayher cement powder for years! I tried this, together with the regular cement grout


Still works!
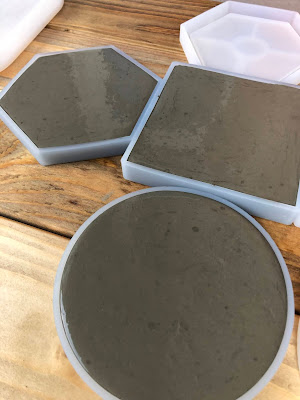
The Rayher cement is the darker one

The elites ones.

Here's the thing about conrete work, it's never perfect all the time. Some will come out with more 'voids' on the edges and surfaces due to formation of tiny air bubbles while hardening. Sometimes it's possible to salvage the 'voidy' ones by smoothening it with rough rough sandpaper (lower number)
It's amazing how different shades of grey is produced from the same mix.

I also bought some of these cement dyes to try; terracotta brown, red and black. Basically, I prepare the regular cement mix as usual and add a few soup spoons of the dye to mix.


The terracotta colour is my favourite. I had expected the black one to be solid black but seems like I have to add more dye to to it. The one I made is just a darker shade of grey.


I've made so many I don't know what to do with them. I guess I'll keep them until a craft fair opens one day.