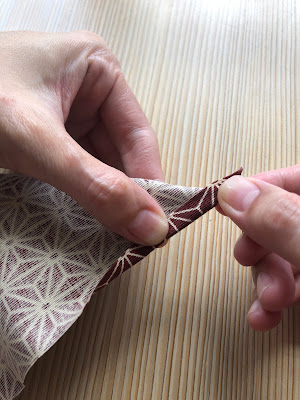
Mitered corners are when two edges meet at a 45 degree, creating a 90 degree corner. There are a few ways to sew a mitered corner hem and I've tried the simplest most 'shortcut' way which basically is estimate, fold and sew along as you see. Risky and not very neat.
I've searched for the proper and professional way on youtube and all of them involved drawing a lot of lines, and ironing. I am not a fan of drawing a lot of lines, also ironing if it's not necessary.
So I came up with my own modified version. And because drawing lots of lines is a hassle to me, I used my good ol' distance/width judgement with consistency. If you prefer drawing lines to be more confident, feel free and go ahead.
Prepare your fabric, tweezer to turn the corner inside out efficiently, fabric pen and ruler.
Start a first fold on one side.

Then fold the next side.
Hold the folded sides down and pinch the corner.
From the edge of the table, bring the two sides together, still pinching the same spot.
Put the folded corner down on the table, place a ruler in a way where it's 90 degree from the folded side, and draw a line which is the yellow dashed line on the picture.
Sew along the line.
Do all 4 corners.
Cut off most of the corner, a distance from the sewn line.
Also, snip off the sharp stray corners on each sides.
Now when you open up the corner, and flatten the inner part, it looks like this.

Then turn the corner inside out

Almost there.
To finish up, do the second fold or fold over to make the complete hem starting at one one side first. Start sewing the hem.
Press on the next hem side when you reach the end of the previous hem, at the corner. Continue sewing the new side.
The underside of the mitered corner hem looks like this.
All corners done!
Neat and nice!
If you're wondering why I made this small piece, it's an inner pocket for a tote bag.
More bags coming!


No comments:
Post a Comment