Here we go!
First, download the template from here and print it in actual size. The template includes sizes for men, women, young child (7-12 yrs old) and small child (3-6 yrs old).

Cut out the size you want. If you're going to make a few, I suggest cutting a fabric template so it is easier to use. Here, I use the downloaded template but extended 2cm more at the straight side. This extension is for making a loop for the elastic cord. Also, allow an extra 0.5cm for hem, so that means the fabric you cut is slightly bigger than this template.
Cut out 2 extended size for outer (front) layer, and 2 original size for inner layer. Do take note of the right side wrong side of the fabric, they have to mirror each other.

Now, place the fabric with right sides on each other and sew the curve edge.


Then sew a hem on one side of the inner fabric. Only one side.

Open up the outer layer that was sewn at the curve. Press the seam allowance on one side and topstitch near the seamline.

Looks like this after topstitching. Repeat this for the inner layer.

Now place the inner layer on top of the outer layer with right sides facing each other. Sew along the top and bottom.

Looks like this on the other side.

Turn it inside out.

Press down the seams flat and topstitch near the seam lines.

Looks like this after topstitching the top and bottom seam lines.

On the side with the hem which was done earlier, fold the the raw edge over...

...and fold again so that it meets the hem nicely . This is called double-fold and this creates the loop for the elastic cord.

Alternatively, you can attach the cord and sew it in directly. If it's time to change the cord when it has become stretchy, you can unpick the re-sew a new cord.

Here, I double-fold with the cord inside so I don't have to go thread in the cord later.

Topstitch the fold as close as the side as possible. This is to create a bigger loop to thread in a new cord in future.

Repeat the double-fold kung-fu for the other side.


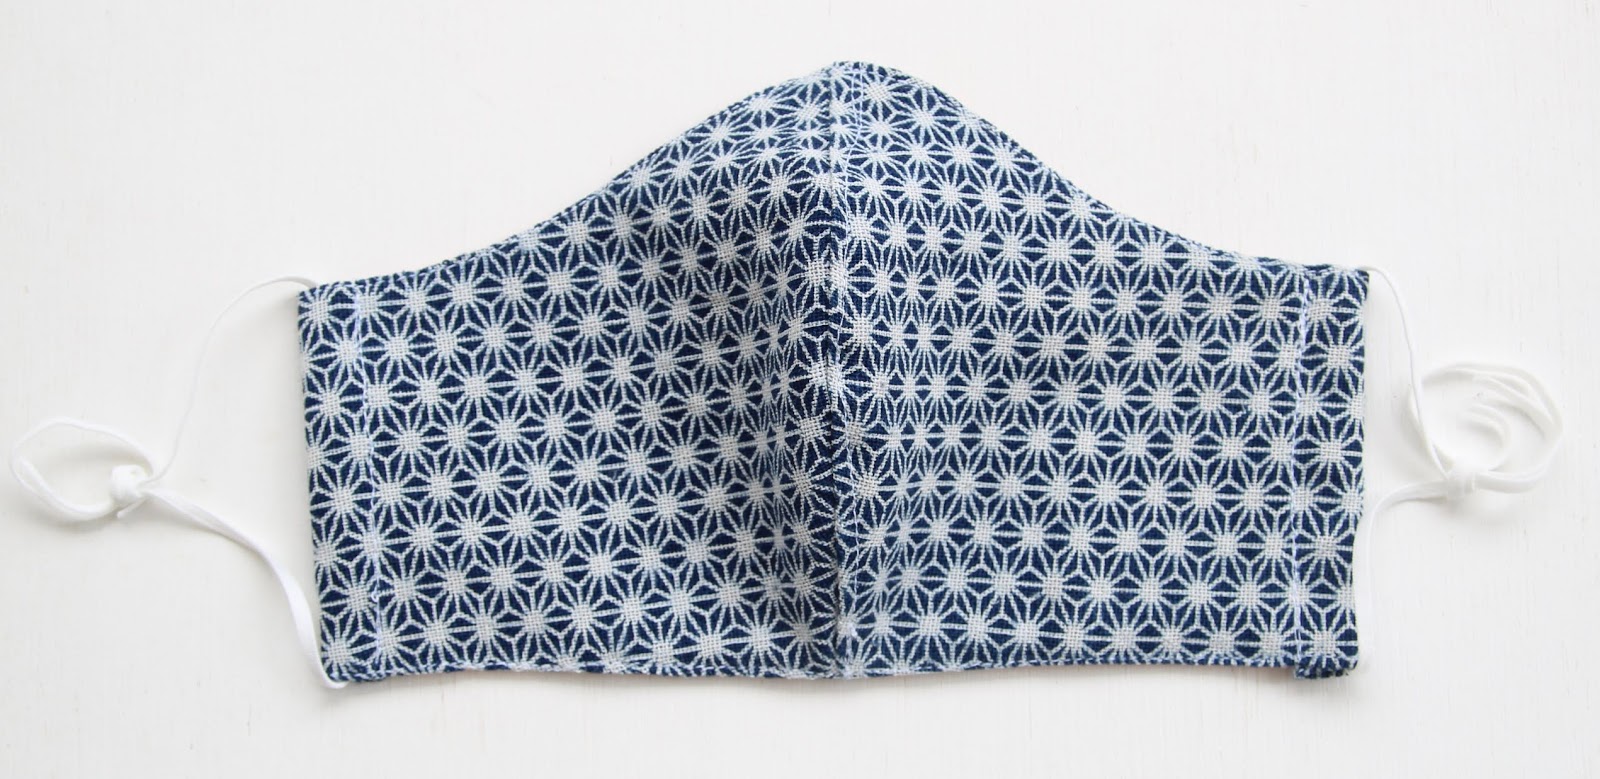
Ta-da! Now you can adjust the elastic cord length according to your preference. Other than going around the ears, you can loop through a strap or twill to tie around the head. I find this more comfortable if you're wearing the mask for long periods of time as it won't strain the ears.

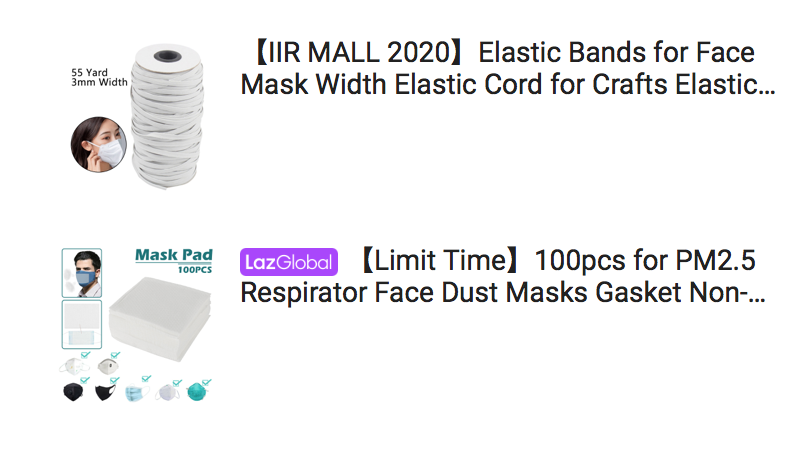
You can insert a disposable filter pad or a dried wet wipe as a non-woven layer for protection.

The hem side is where you insert the filter pad.

Enjoy your mask-making adventure!
No comments:
Post a Comment